You are looking at the developer documentation for the most recent public release of RepoSense.
The version matching the latest master branch is here.
Workflow
Our workflow is mostly based on the guidelines given at se-education.org/guides.
To submit a PR, follow this guide, but note the following:
- As we squash the commits when merging a PR, there is no need to follow a strict commit organization or write elaborate commit messages for each commit.
However, when pushing new commits to your PR branch, do clean up new commits (i.e., commits not yet pushed) e.g., delete temporary print statements added for debugging purposes. - In the PR description, please propose a commit message to be used when the PR is merged eventually. The commit message should follow the guidelines given here. You may refer to this PR for an example.
- For simple documentation fixes or tasks with clear instructions, it is unnecessary to create an issue before creating a PR.
- You can refer to the Architecture and the HTML Report sections to learn about the design and implementation of RepoSense.
- The section below has more information about the various stages of submitting a PR.
Find the suitable pull requests
- If you are contributing to RepoSense for the first time, you can check the list of issues that are suitable for first timers.
The issues for first timers usually have guidance provided in the comment or have linked pull requests from previous contributors. You can refer to them for implementation details.
- If you are more experienced in contributing, aside from searching for issues in the issue tracker, you can find the list of issues organized in a more systematic way under the Projects Tab of the RepoSense repository. This can help you to find issues with suitable workload and direction.
Following the coding standards
- Make sure you know our coding standards.
- Follow the tutorial to configure Intellij to follow our coding style.
- This project uses Checkstyle to check the compliance of Java code. You can use this document to find how to use it.
- In particular, run
gradlew checkstyleAllto check the style of all the relevant Java code. This will check the Java code in the following order: main code -> test code -> systemtest code. - If you only want to check the main code, run
gradlew checkstyleMain. Likewise, for test code, rungradlew checkstyleTestand for systemtest code, rungradlew checkstyleSystemtest. - You can also run any of the combination of the above, such as
gradlew checkstyleMain checkstyleTestorgradlew checkstyleTest checkstyleSystemtest.
- In particular, run
- To check Vue files for style errors, run
gradlew lintFrontendfrom the project root directory. You can also runnpm run lintfixin thefrontendfolder to automatically fix some of the JavaScript and CSS lint errors. - To perform environmental checks for style errors, run
gradlew environmentalChecksfrom the project root directory. This checks if all files end with a newline, if prohibited line endings (\r\n) are present and if trailing whitespaces are present.
Running the app from code
- To run the app from code, run
gradlew runfrom the project root. By default, it will run based on the config files in the[project root]/configfolder, and generate the report in the[project root]/reposense-reportfolder. - To supply flags to customize the report, you can use the
-Dargs="[FLAGS]"format.
e.g.,gradlew run -Dargs="--since 31/12/2019 --formats java adoc xml" - Run
gradlew run -Dargs="--view"to generate the report and view it in the default browser. - You can refer to the panel below for the format of the flags that can be supplied in
-Dargs="[FLAGS]".
Debugging (front-end)
You can use the hot reloading feature to see how your code changes the functionality of the website in real time.
- Navigate to the project root in your terminal.
- Generate the desired data for the report using
gradlew runwith the appropriate flags. - Run
gradlew hotReloadFrontend. - The website will be automatically opened in your browser shortly.
You can use Vue.js devtools for frontend debugging on Chrome. Here are the steps:
- On your Chrome, visit the website of Vue.js devtools and add the extension.
- Go to the detail page of this extension in Chrome's extension management panel and select
Allow access to file URLs. If you are unable to locate it, copy the link:chrome://extensions/?id=nhdogjmejiglipccpnnnanhbledajbpdand visit it on your Chrome. - Open any report generated by RepoSense.
- Press
F12or right click and chooseinspectat the report page. - Choose
Vueat the navigation bar.
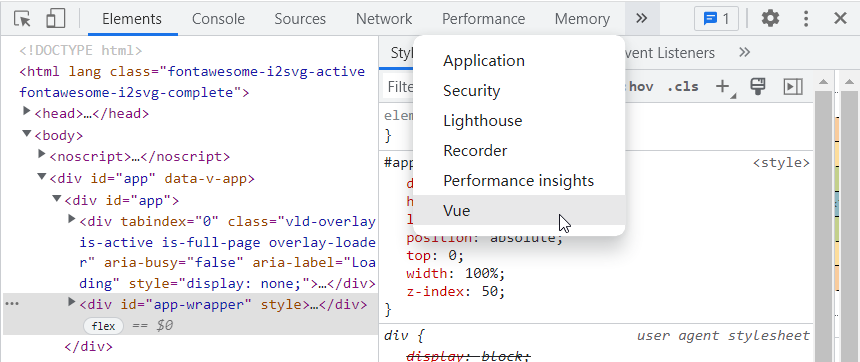
- Debug using the tool.
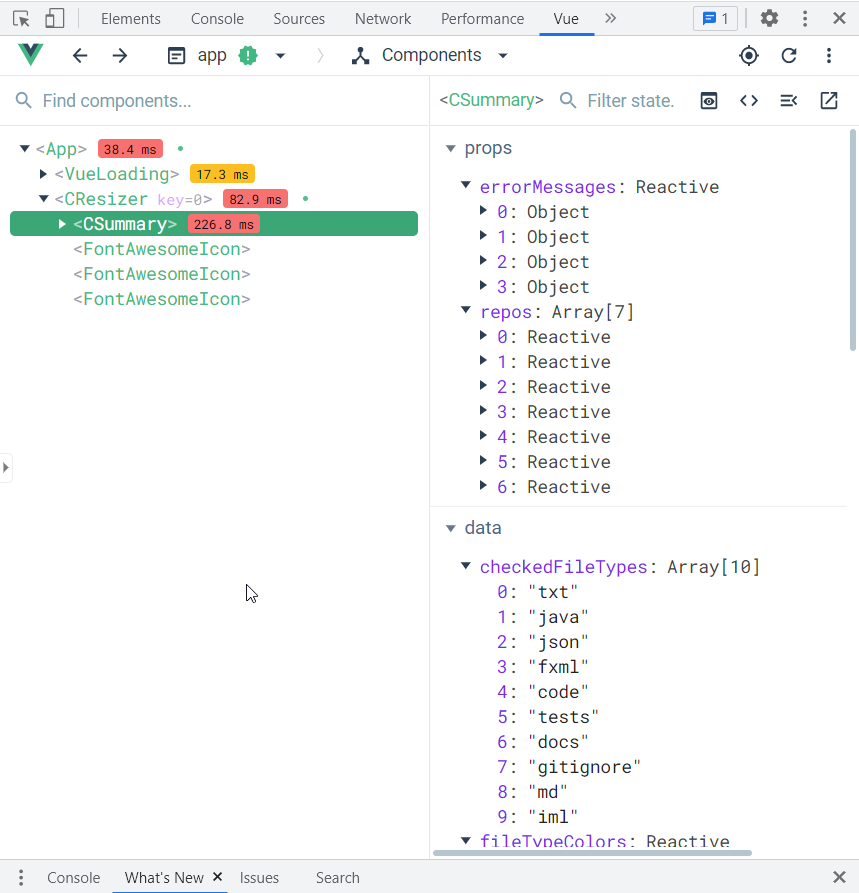
See vue-devtools project home page for more details.
Testing (front-end)
We use Cypress for automated end-to-end front-end testing.
Writing tests
- Create a new test file in
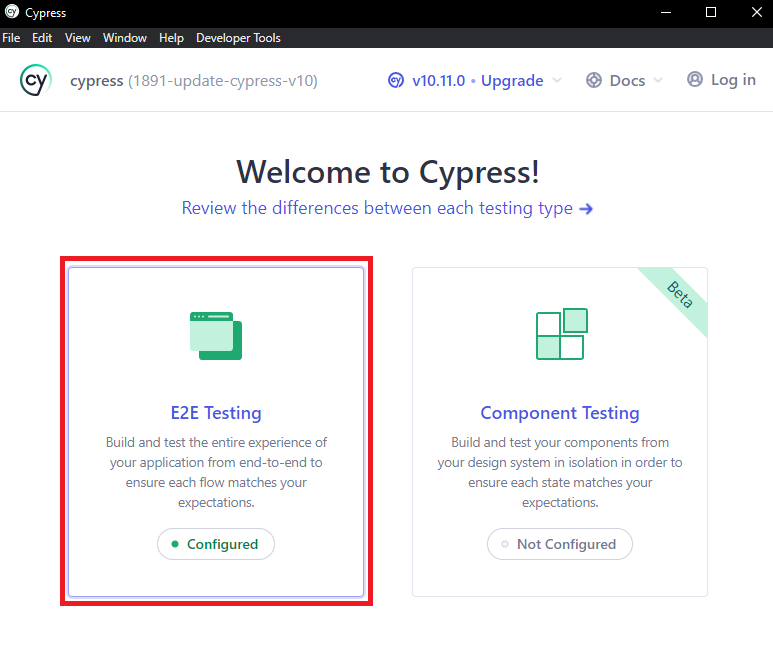
frontend/cypress/tests. - At project root start Cypress Test Runner by running
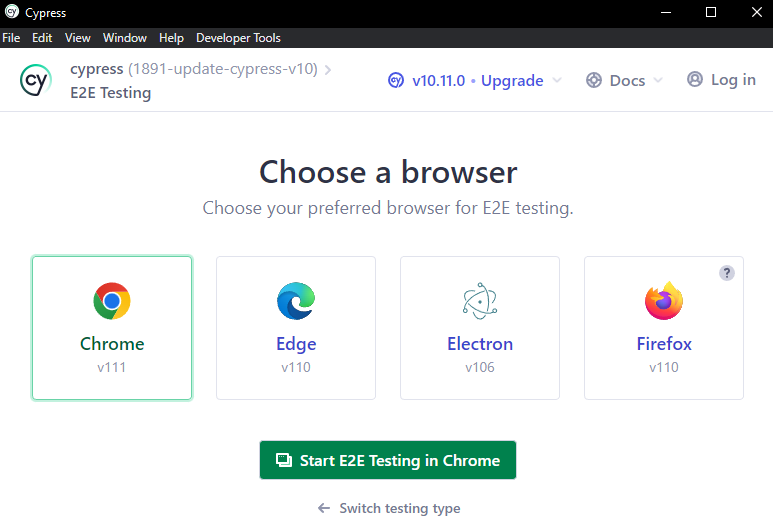
gradlew cypress. - Select E2E Testing and choose Chrome as the preferred browser.
- Under E2E specs, click on the newly created test file to run it.

Read Cypress's Documentation to familiarize yourself with its syntax and Cypress's debugging guide to tackle problems with your tests.
Note that it is compulsory to add tests for the new front-end changes that you made to prevent regression bugs, except for trivial changes that are unlikely to cause any regression or other situations where testing does not apply to the change.
Running tests
To run all tests locally, run gradlew frontendTest.
- Using the above command, tests are run on the CLI in a headless browser without the report being displayed.
- To run tests in a headed browser, run
gradlew cypressthen select the test file(s) in the Cypress GUI as shown above.
If you encountered an invalid browser error, ensure that you have Chrome installed in the default installation directory. Otherwise, follow the instructions here to create symbolic links so Cypress can locate Chrome in your system.
Testing (back-end)
The back-end tests can be found at [project root]/systemtest and [project root]/test.
Running tests
To run all the system tests, run gradlew systemtest.
To run all the unit and integration tests, run gradlew test.
Writing documentation
This project uses MarkBind for documentation. Follow this tutorial to learn how to use MarkBind for updating project documentation.
To show some content only in the , add the tags="production" attribute to the HTML element enclosing the content. Similarly, tags="dev" will make the content appear only in the .
<span tags="production">This will appear in the production website only.</span>
<span tags="dev">This will appear in the dev website only.</span>
This will appear in both sites.