Customizing reports
The report can be customized using several ways, as explained below.
Configuration Options Overview
RepoSense offers multiple ways to customize your reports, with varying levels of complexity and flexibility:
- Command-Line (CLI) Flags - The simplest, most direct approach for quick, one-off customization
- RepoSense Configuration Files - Flexible configuration managed in your config directory:
report-config.yaml- A user-friendly single file for typical use cases- CSV config files - A more powerful option with granular control for advanced scenarios
- Personalization assets (
favicon.ico,intro.md, and blurbs) - Personalize the report with custom icon, title banner, and descriptive blurbs for repos, authors, and charts.
- In-Repository Configuration - Configure individual repositories with their own settings and author annotations
When deciding which configuration method to use:
- CLI flags are ideal for quick, one-off reports with minimal customization.
- RepoSense Configuration Files provide the best balance of ease-of-use and flexibility for most use cases.
- In-Repository Configuration is best for project teams who want to control how their code appears in the report.
Basic Customization using Command-Line Flags
The simplest approach is to provide additional flags when running RepoSense. The various flags are given in the panel below.
Advanced Customization using RepoSense Configuration Files
This advanced configuration method is more flexible than CLI flags alone, allowing you to define repositories, customize author details, group repositories, and personalize the report — all in dedicated config files.
To use configuration files, specify the config directory when running RepoSense using the --config or -c flag:
Using report-config.yaml
The report-config.yaml file provides a more user-friendly way for users to customize their reports in more detail compared to the CLI flags.
Please refer to this page to get started.
Note that configurations in report-config.yaml takes precedence over the configurations in the CSV config files when both are present.
Using CSV config files
Another, more powerful, way to customize the report is by using dedicated config files. You can refer to this section to find out more about the CSV file formats.
In this case you need to use the --config flag instead of the --repo flag when running RepoSense, as follows:
Managing config files collaboratively: If you use RepoSense to monitor a large number of programmers, it may be more practical to get the programmers to submit PRs to update the config files as necessary ().
To ensure that their PRs are correct, you can use Netlify deploy previews to preview how the report would look like after the PR has been merged. More details are in the panels below.
Additional Personalization Settings
Add favicon.ico
There is a default favicon.ico file provided in the template zip folder. If you want to self-configure the favicon.ico, please ensure that the file is valid and has the file name of favicon.ico. This icon will appear in the browser tab when your report is viewed. Copy or move your favicon.ico file into the assets folder of the config directory.
Add an intro
Add the introductory section of the dashboard by creating an intro.md file in the config directory.
The intro can render a combination of Markdown/HTML and plaintext, and will appear on the top of the left panel as shown below:
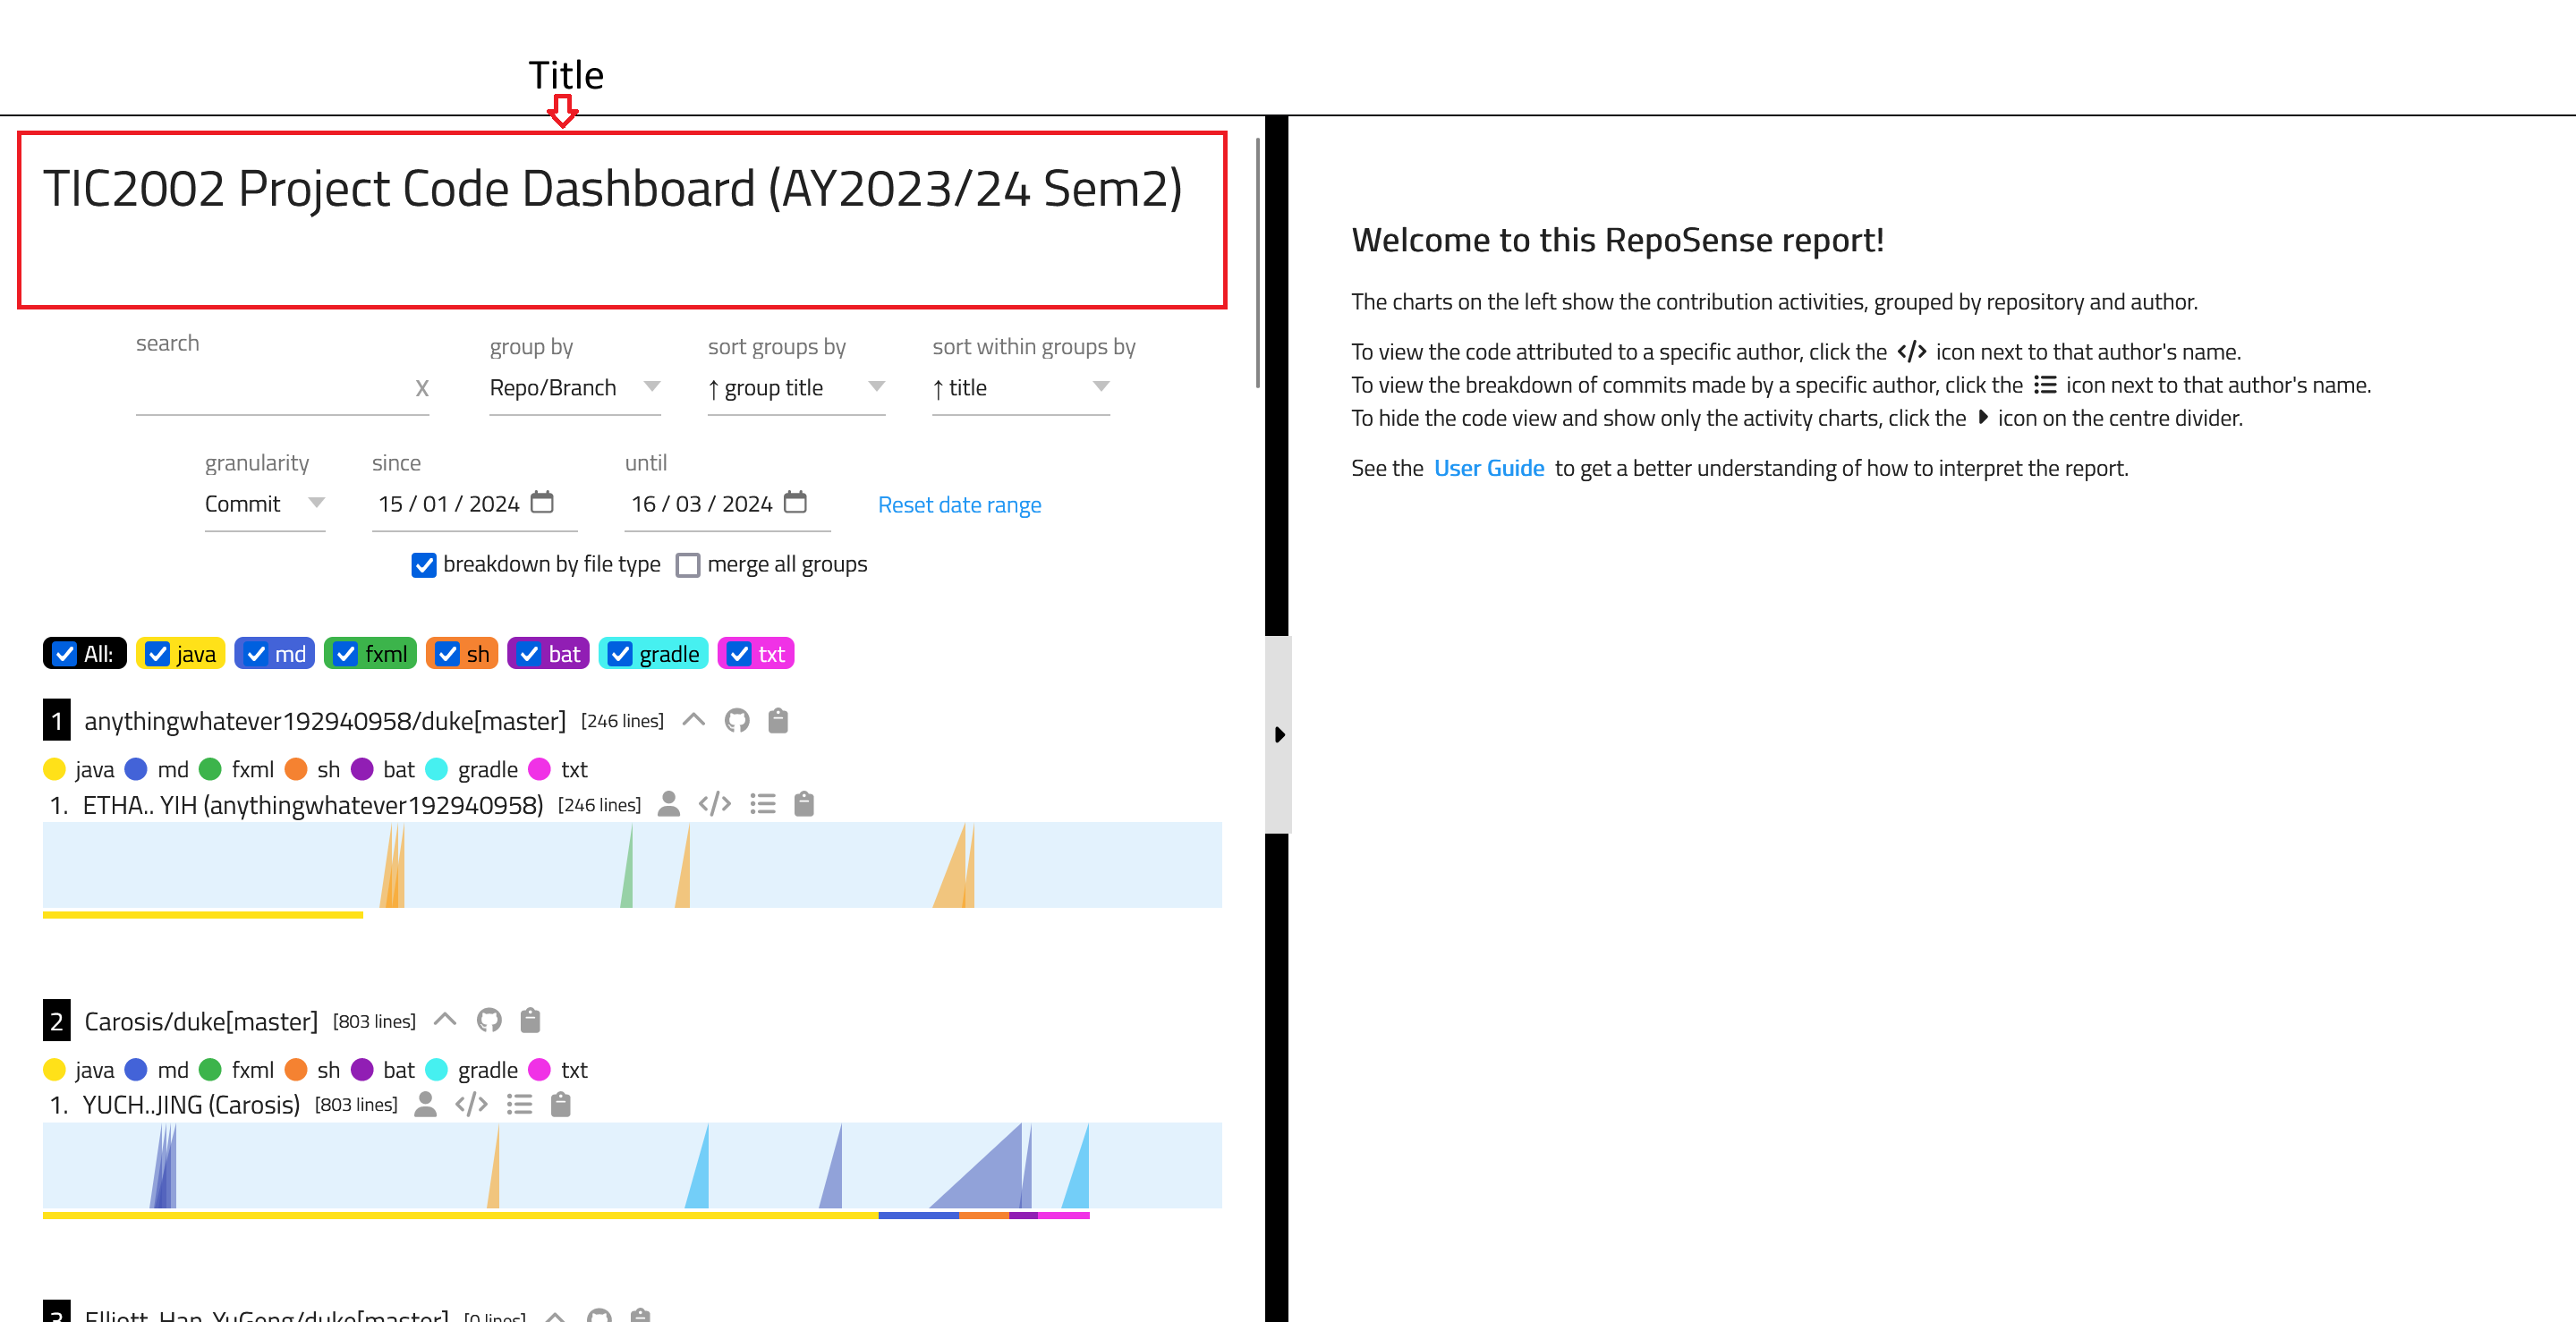
Do note that the width of the intro is bound by the width of the left panel.
For more information on how to use Markdown, see the Markdown Guide.
Add blurbs for branches, authors or charts
A blurb can be added for a repository or author by creating the respective blurb markdown files in the config directory.
- For a repository:
- Create a file titled
repo-blurbs.mdin the config directory. The format of the file is given below:
- Create a file titled
- The blurbs will be visible when grouping by
Repo/Branch. - For an author:
- Create a file titled
author-blurbs.mdin the config directory. The format of the file is given below:
- Create a file titled
- The blurbs will be visible when grouping by
Author. - For a chart:
- Create a file titled
chart-blurbs.mdin the config directory. The format of the file is given below:
- Create a file titled
Customize using In-Repository Configuration
If feasible, you can also customize the target repos to play well with RepoSense in the following ways:
1. Add a standalone config file to the repo to provide more config details to RepoSense. The format of the file is given below.
2. To have more precise control over which code segment is attributed to which author, authors can annotate their code using @@author tags, as explained below.
In both instances, it is necessary to commit any changes for them to be detected by RepoSense.
3. Add a Git .mailmap file at the top-level of the repository, specifying mapped authors/commiters and/or e-mail addresses as per gitmailmap documentation. Any mappings specified here will be applied by Git before all other RepoSense configurations. Configuration via .mailmap is particularly useful if you want the mapping to apply for all Git commands as well instead of just for RepoSense.